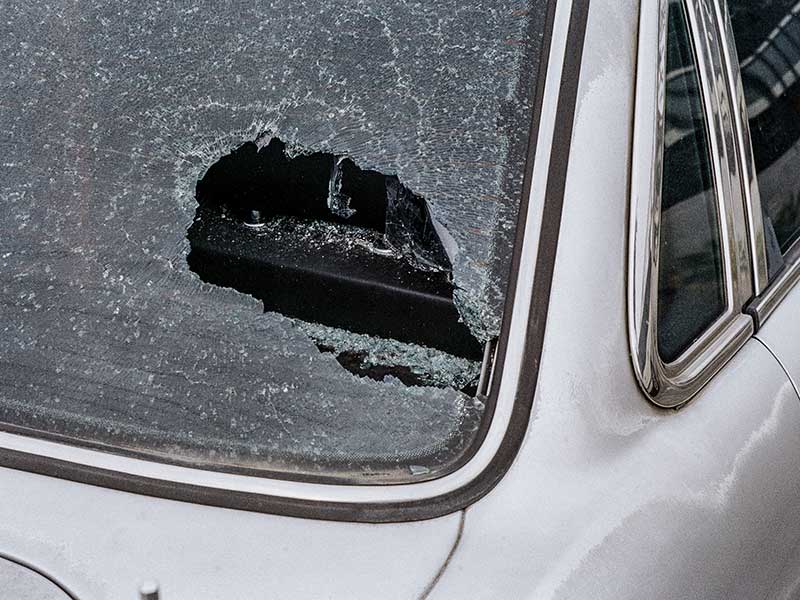
Temporarily Covering a Broken Windshield Before Replacement

So you broke your vehicle’s windshield?
Time to get a windshield replacement, but what about the time between breaking the glass and getting it replaced?
Temporarily Covering a Broken Windshield Before Replacement
Most people may not have the time or money to replace a broken windshield immediately, which is why they need a temporary solution.
Here is how you can temporarily cover the auto glass, before you get a windshield replacement:
Step 1- Remove Any Broken Glass
Start by putting on a pair of thick, glass-safe work gloves for safety and avoid handling the windshield or any broken glass without them. Then, collect any large pieces of glass in a bag or container for recycling. Carefully break away any pieces attached to the windshield.
Next, connect a shop vac to vacuum the smaller shattered pieces of glass. Make sure to target the interior of your vehicle, any glass around the windshield frame, and even the smaller glass pieces inside the seal.
Step 2- Carefully Clean the Surrounding Glass Surface
Once the broken glass is out of the way, carefully clean around the damage, the overall windshield, seal, and frame for effective tape adhesion later. Make sure to clean any dirt, dust, grime, snow, or buildup with a damp cloth and then let it air dry.
Step 3- Align the Covering
Ideally, you should use a large, clear, high-density plastic bag or trash bag as a temporary covering. It will allow visibility until you can get a windshield replacement, but of course, this visibility is nowhere near as safe or reliable as a new windshield.
Align the plastic covering over the frame and use a few pieces of masking tape to temporarily hold it in position. Other types of tape are not recommended, because they can damage the paint or be tough to remove later.
Step 4- Secure the Covering
Start by preparing around a dozen longer pieces of masking tape. Smooth the edges of the plastic covering and hold it firmly to apply a tight tape seal on one portion of the covering at a time.
Step 5- Reinforce the Tape Seal
Use additional pieces of masking tape to further reinforce the tape seal around the plastic covering. This will help keep the seal and covering in place while you drive, even in slightly moist, wet, or windy conditions.
This is a good time to gently test the strength of the covering and seal by applying light pressure on the covering with your hand. Make sure the plastic covering and tape seal do not have any air leaks or holes that allow water to seep through.
Additional Layer (Optional)
If you plan to wait multiple days before getting a windshield replacement, or if you have to drive in poor weather conditions, consider adding another layer of covering. Simply repeat the process from ‘Step 3’ and you should be fine.
